Spectrum Mileage Log Software
Welcome to the Spectrum Mileage Log program user manual. This online manual is designed to instruct you on how to install and use the program.
1.00 - Software Installation
1.01 - Using the Setup Wizard
1.02 - Authorizing the License
2.00 - Program Configuration
2.01 - Configure Vehicles
2.02 - Configure Mileage Types
2.03 - Configure Trip Types
3.00 - Mileage Records
3.01 - Adding Mileage Records
3.02 - Editing Mileage Records
3.03 - Deleting Mileage Records
4.00 - Running Reports
4.01 - Vehicle Report
4.02 - Mileage Log Detail with Totals Report
4.03 - Total Miles by Vehicle and Mileage Type Report
5.00 - Program Information and Data
5.01 - Backup the Program Database
1.00 - Software Installation
The Spectrum Mileage Log program runs on computers running Microsoft Windows XP and newer operating systems. The .NET Framework version 4.0 must be installed prior to installing the software.
To install the software on your PC, run the file "Mileage Log Setup.msi" in .ZIP sent to you. If the Microsoft .NET Framework version 4.0 is installed on the PC, simply follow the prompts and install the software. If the framework is not installed on the PC, you will see the following message.
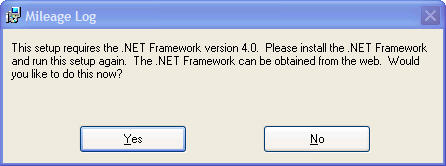
Click "Yes" to download and install it. After installing the framework, you will need to run the "Mileage Log Setup.msi" again.
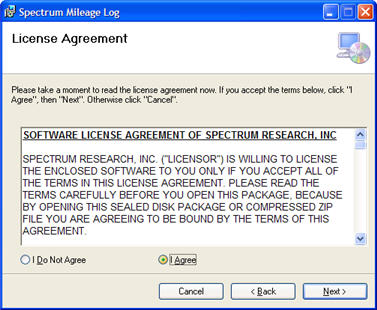
1.01 - Using the Setup Wizard.
Follow the installation prompts to install the program.

Accept the software License.
Select Installation Folder.
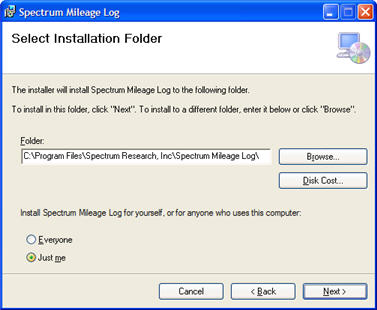
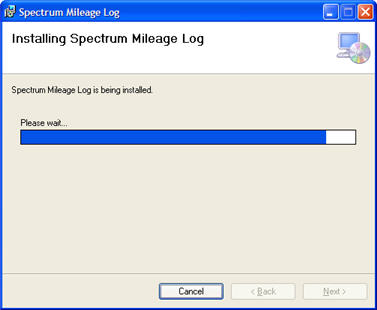
Click 'Next' to install.
1.02 - Authorizing the License
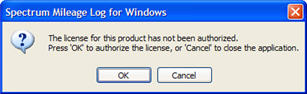
The Spectrum Mileage Log software license must be authorized over the internet. The first time you run
the software, you will see the following dialog box. Press 'OK' to enter your access key, or 'Cancel' to
terminate the program.
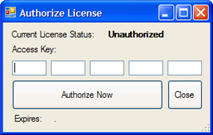
Enter the access key you obtained with your purchase into the 'Authorize License' dialog box, and
press 'OK'.
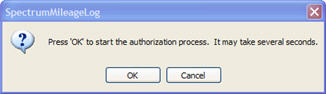
The license authorization will take several seconds. No hour glass or progress meter will display
during the process.
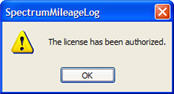
When your software license has been authorized, the following authorization dialog box will display.
2.00 - Program Configuration
After installing the software, you should review the program configuration. It is possible to configure multiple vehicles, configure IRS Mileage Rates, as well as quick trips that you might make.
2.01 - Configure Vehicles
The software allows you to create and maintain mileage logs for multiple vehicles. Do the following to add additional vechicles:
Add a Vehicle- Click on the "Program Configuration" tab.
- Click on the "Vehicles" sub-tab.
- Click on the "Add" button.
- Enter the new vehicle name into the "Vehicle Name" input box.
- Click on "Save Changes".
- Click on the "Program Configuration" tab.
- Click on the "Vehicles" sub-tab.
- Select an existing vehicle.
- Click on the "Edit" button.
- Edit the vehicle name in the "Vehicle Name" input box.
- Click on "Save Changes".
- Click on the "Program Configuration" tab.
- Click on the "Vehicles" sub-tab.
- Select an existing vehicle.
- Click on the "Disable" button.
Disabling a vehicle will remove it from the list of vehicles for which you can add mileage log records.

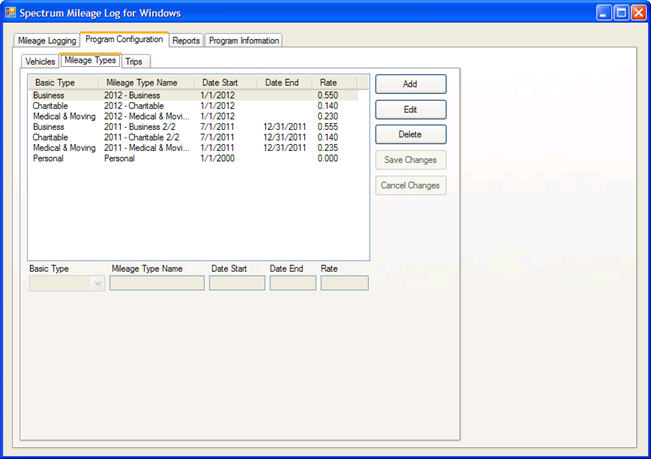
2.02 - Configure Mileage Types
"Mileage Types" are the basic IRS Mileage Types and rates used by the program. For a basic mileage type like Business, Charitable, or Medical and Moving, the IRS specifies a deduction rate, as well as the start and end dates for those rates. Current mileage types and rates may not have an expiration date until the IRS is specifies new rates for a future period.
It is important to keep up with the IRS mileage rates so new mileage types can be added to the software and used by logs for calendar dates. We track and display the rates on our site at http://www.mileage-log.com.
To add a new Mileage Type record, do the following:
Add a Mileage Type- Click on the "Program Configuration" tab.
- Click on the "Mileage Types" sub-tab.
- Click on the "Add" button.
- Click on the "Basic Type" dropdown and select from the types Business, Charitable, Medical & Moving, or Personal.
- Enter the Mileage Type Name.
- Enter the Start Date.
- Enter the End Date if it is known.
- Enter the deduction rate.
- Click on "Save Changes".
- Click on the "Program Configuration" tab.
- Click on the "Mileage Types" sub-tab.
- Select a Milage Type record to edit.
- Click on the "Edit" button.
- Edit the Basic Type, Milege Type Name, Start Date, End Date, and Rate as needed.
- Click on "Save Changes".
- Click on the "Program Configuration" tab.
- Click on the "Mileage Types" sub-tab.
- Select a Milage Type record to edit.
- Click on the "Delete" button.
Note that if a Mileage Type is in use by any mileage records, the type can not be deleted.
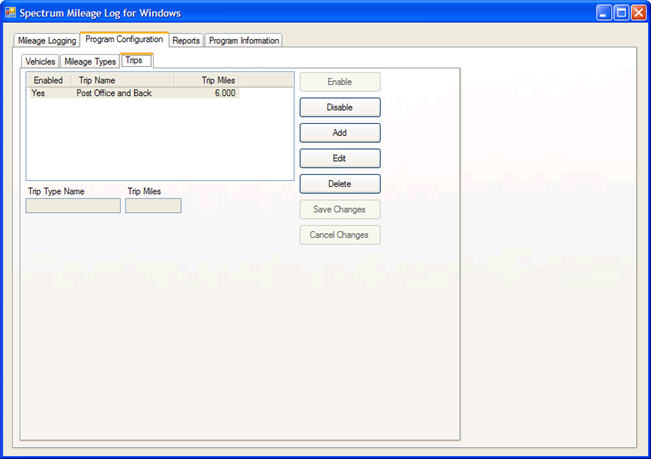
2.03 - Configure Trip Types
"Trip Types" are quick trips that commonly make. They can be preconfigured in the software to reduce the amount of time it takes to make mileage log entries.
Add a Trip Type- Click on the "Program Configuration" tab.
- Click on the "Trip Types" sub-tab.
- Click on the "Add" button.
- Enter the Trip Type Name.
- Enter the trip miles.
- Click on "Save Changes".
- Click on the "Program Configuration" tab.
- Click on the "Trip Types" sub-tab.
- Select a Trip Type record to edit.
- Click on the "Edit" button.
- Edit the "Trip Type Name" and "Trip Miles" as needed.
- Click on "Save Changes".
- Click on the "Program Configuration" tab.
- Click on the "Mileage Types" sub-tab.
- Select a Trip Type record to edit.
- Click on the "Delete" button.
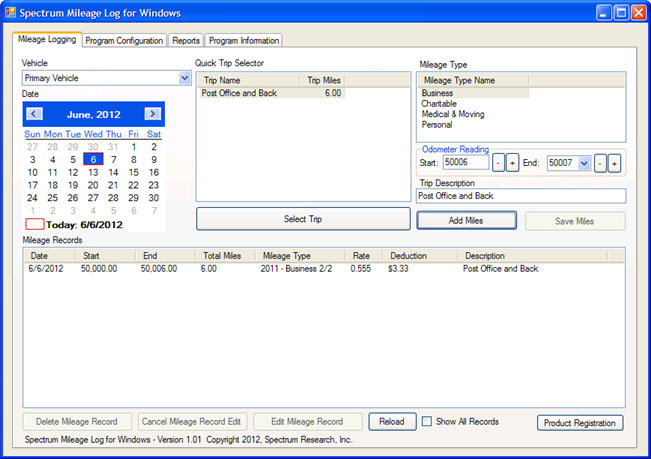
3.00 - Mileage Records
3.01 - Adding Mileage Records
To add mileage records from the main "Mileage Logging" tab of the program, do the following:
Add Mileage Records- Select a vehicle from the "Vehicle" dropdown at upper left.
- Select a date for the miles in the calendar at upper left.
- Optionally from the "Quick Trip Selector", select a trip and press the "Select Trip Button".
- From the Mileage Type listbox, select a "Mileage Type Name".
- Enter the starting odometer value or make sure it is correct.
- Enter the ending otometer value, or leave blank.
- Edit or type in a "Trip Description".
- Click on the "Add Miles" button.
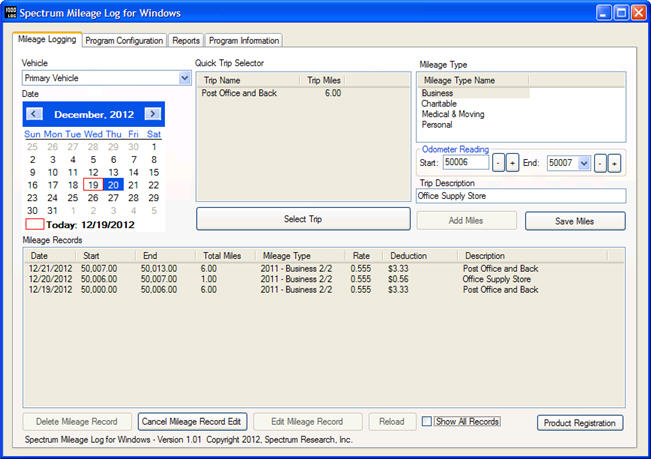
3.02 - Editing Mileage Records
Do the following to edit existing mileage records.
- Select the desired vehicle from the "Vehicle" dropdown at upper left.
- Select a record from the "Mileage Records" listbox at bottom.
- Click on the "Edit Mileage Record" button.
- Correct the "Mileage Type", values in the "Odometer Reading" input boxes, or "Trip Description" as needed.
- Click on the "Save Miles" button, or press the "Cancel Mileage Record Edit" button to cancel the change.
3.03 - Deleting Mileage Records
Do the following to delete existing mileage records.
- Select the desired vehicle from the "Vehicle" dropdown at upper left.
- Select a record from the "Mileage Records" listbox at bottom.
- Click on the "Delete Mileage Record" button.
- Click "OK" to confirm the deletion.
4.00 - Running Reports
The Spectrum Mileage Log is capable of running a variety of reports using different constraints. Depending on the report, the amount of data displayed in the report can be limited to a single vehicle mileage type, or to a specific date range.
4.01 - Vehicle Report
The most simple report to run is the "Vehicle" report. It outputs a simple a list of all vechicle in the program database. Do the following to run that report.
- Click on the "Reports" tab.
- Click on "Vehicles" in the report selection listbox.
- Click on the "Run Report" button.
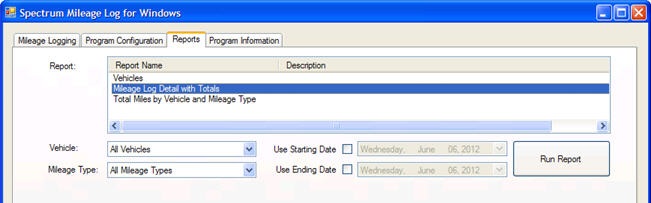
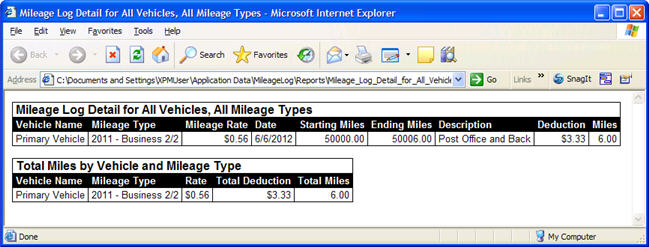
4.02 - Mileage Log Detail with Totals Report
To display a report containing detailed mileage logs for all vehicles or just one vehicle, do the following:
- Click on the "Reports" tab.
- Click on "Mileage Log Detail with Totals" in the report selection listbox.
- From the "Vehicle" dropdown, select either a single vechicle or "All Vehicles."
- From the "Mileage Type" dropdown, select either a single mileage type, or "All Mileage Types."
- Check "Use Starting Date" and select a date to limit the starting date of the report.
- Check "Use Ending Date" and select a date to limit the ending date of the report.
- Click the "Run Report" button.
4.03 - Total Miles by Vehicle and Mileage Type Report
To display a report containing totals by vehicle, do the following:
- Click on the "Reports" tab.
- Click on "Total Miles by Vehicle and Mileage Type" in the report selection listbox.
- From the "Vehicle" dropdown, select either a single vechicle or "All Vehicles."
- From the "Mileage Type" dropdown, select either a single mileage type, or "All Mileage Types."
- Check "Use Starting Date" and select a date to limit the starting date of the report.
- Check "Use Ending Date" and select a date to limit the ending date of the report.
- Click the "Run Report" button.
5.00 - Program Information and Data
The "Program Information" tab lists where the program's database is, and also allows you to open that folder for easy database backup.
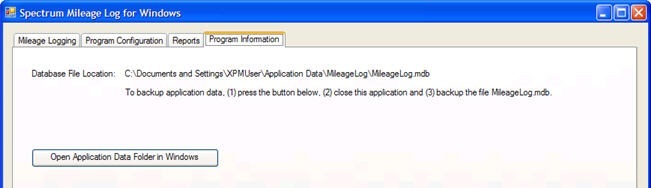
5.01 - Backup the Program Database
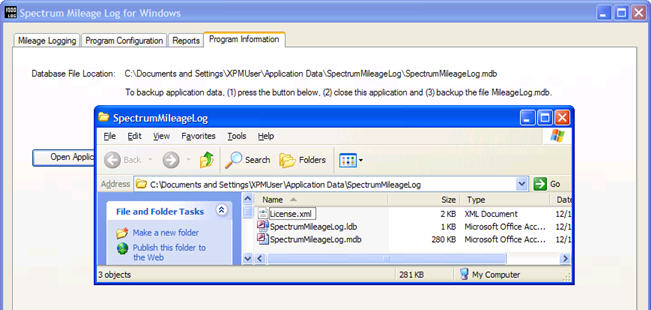
To backup the program's database, do the following:
- Click on the "Open Application Data Folder in Windows" button.
- Close the Spectrum Mileage Log application.
- Copy the SpectrumMileageLog.mdb file to a backup location.
Copyright © 2012 - Spectrum Research, Inc. and www.Mileage-Log.com